

Seattle-based contemporary artist Scott Musgrove is a master of his craft. One of the preeminent members of the popsurrealist movement, he is known not only for his endless imagination in dreaming up extinct animal species and the wild worlds they inhabit, but also for his painterly expertise with oils in executing his whimsical vision. This technical proficiency and fantastical creativity was on full display during his solo exhibition, How Is The Empire? (covered), with Jonathan LeVine Gallery last year.
For collectors and art enthusiasts alike, who in most cases weren’t born with much – if any – artistic abilities of their own, it’s always intriguing to learn about the creative process of an artist and how a painting goes from concept to completion. Few things are as fascinating as getting a behind the scenes look at the various stages, as a painting grows from inception in the form of a preliminary sketch, straight through the marathon painting phase, until finally getting the canvas varnished and framed upon completion.
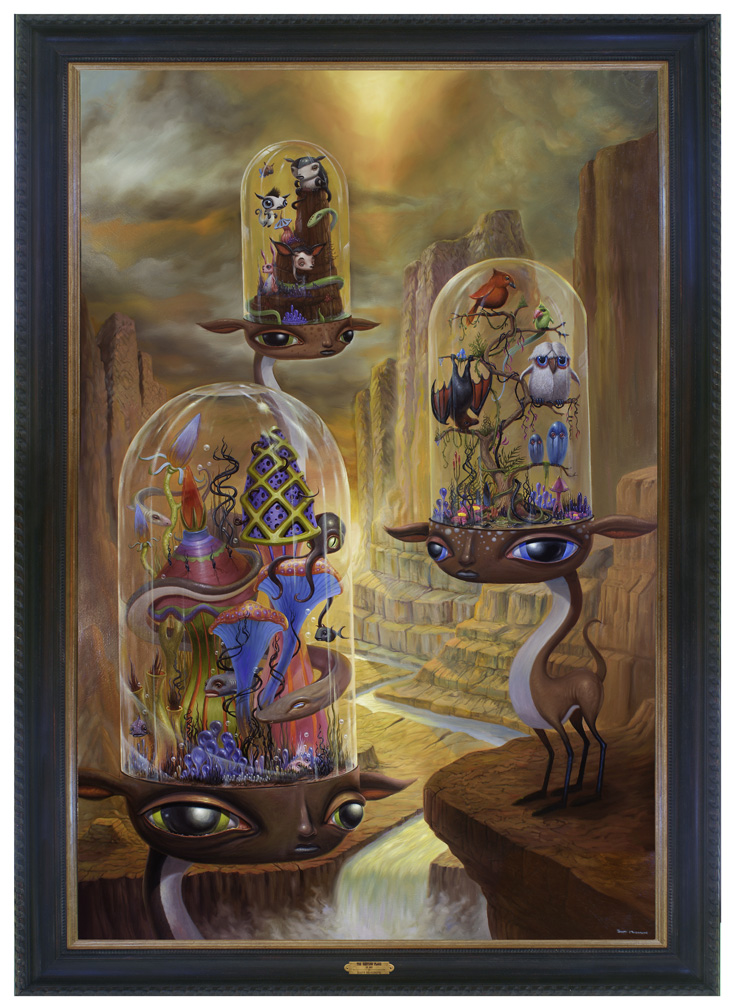
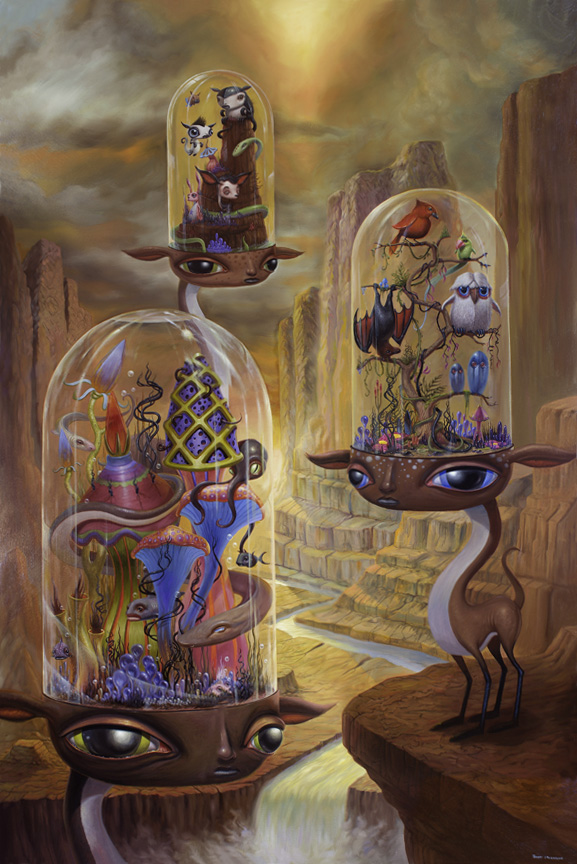
With this exclusive feature, Scott has generously taken the time to illuminate his personal artistic process, snapping images along the way and providing some insightful commentary about the creation of his largest painting to date, entitled The Protectors, measuring a whopping 81″ x 58″!
Check it out after the jump!
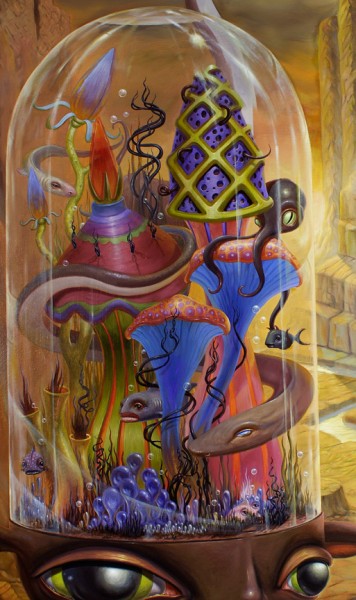
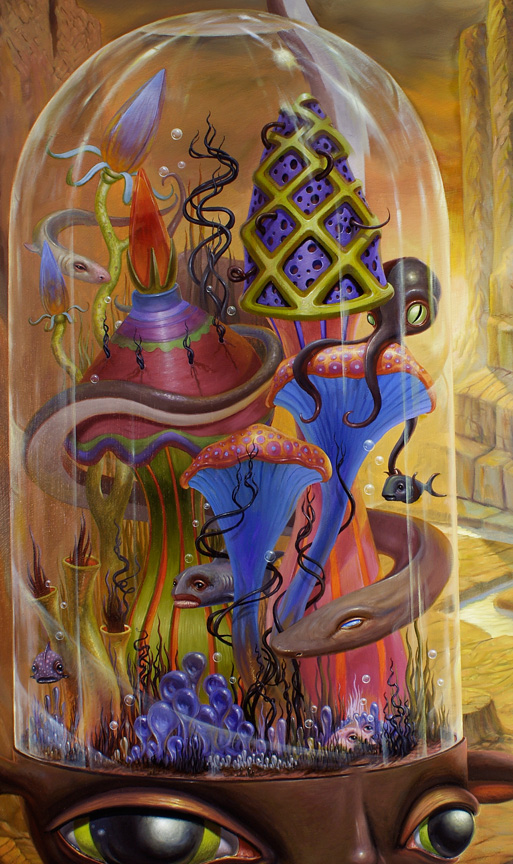
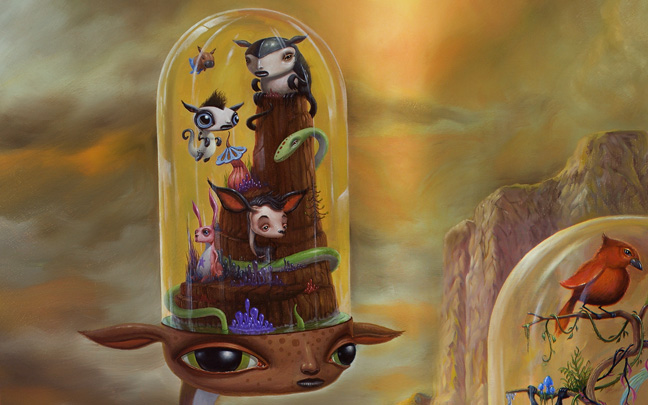
One of the inspirations for this painting was reading about the Svalbard Global Seed Vault, which is basically a gene bank to help protect against the loss of plant diversity. In this painting I made these animals into vessels, sort of natural Noah’s arks of plant and animal species. One carries aquatic life, one carries land animals and one contains airborne animals. All the life is contained within their terrarium-like heads, with no plant or animal life present in the background. I guess it could seem a little bleak… if it weren’t for all the plant and animal life just waiting to repopulate the barren landscape.
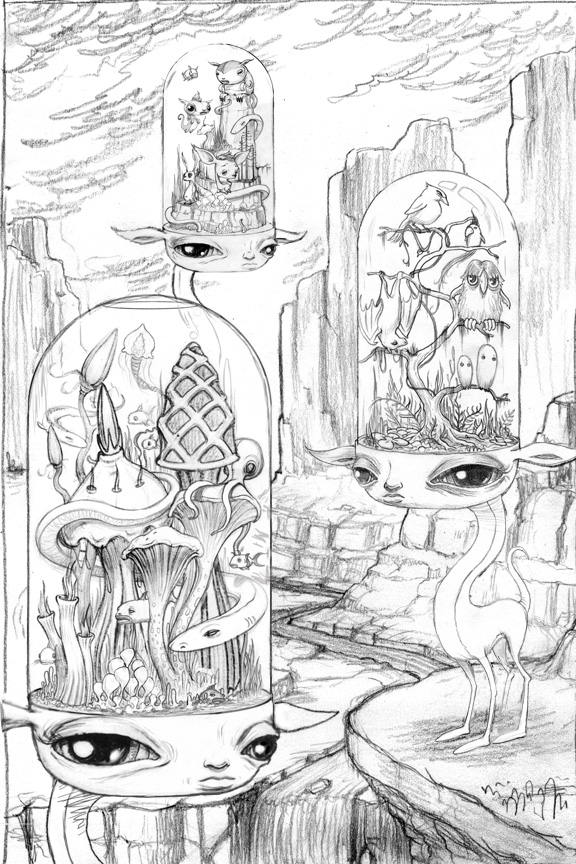
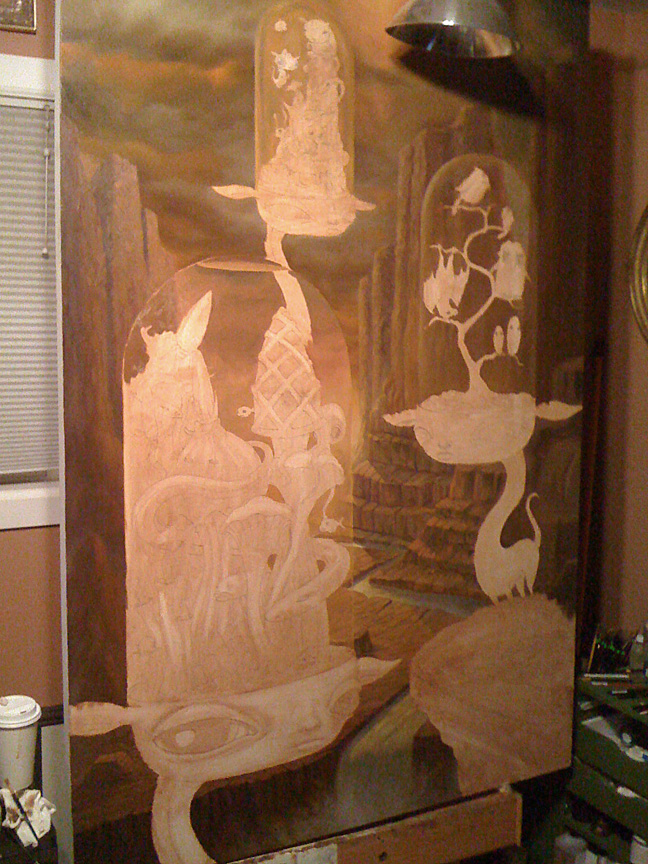
I usually start with a pretty detailed pencil drawing. This one is a little more detailed than normal since it’s a large painting. Also, the longer I spend with the sketch, the more familiar everything gets, which helps when I start painting as the intended outcome is a little bit more clear to me.
I printed out the drawing on large pieces of paper and transferred it to the canvas by hand using graphite paper between the paper and the canvas. This redrawing process can be tedious… in the old days it’s the kind of thing that would be delegated to an apprentice. I employ no such person at my studio.
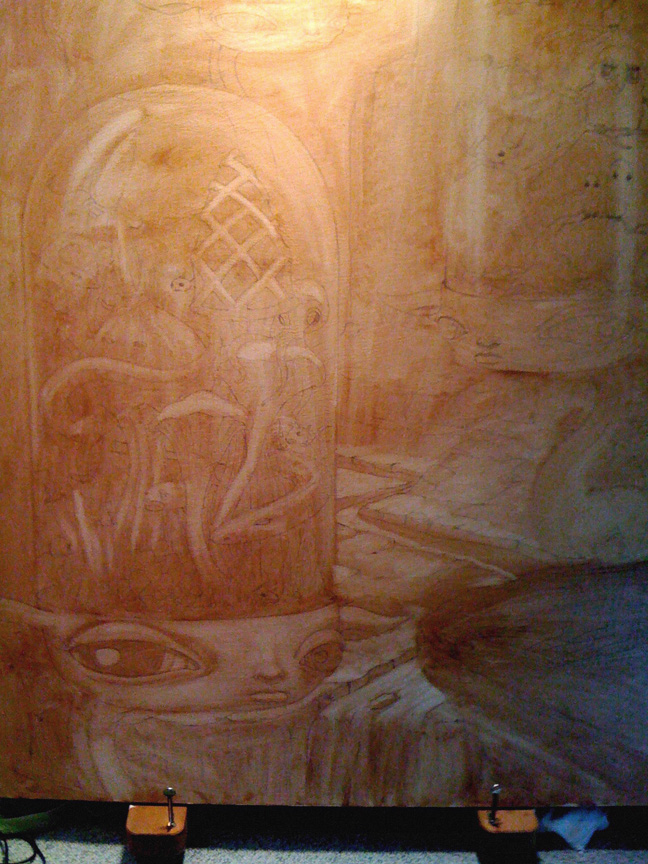
Once the drawing is on the canvas, I seal it with an acrylic medium and do wash of burnt sienna and burnt umber oil paint mixed with some linseed oil. While it’s still wet, I wipe away paint in certain areas with a rag to begin to get a rough idea of where the lights and darks will be. Sometimes I do pretty detailed color sketches, but not for this painting. With a color study I have a much better idea of what I will end up with… but the trade-off is that it feels like a little bit less of an adventure that way. With this one I just decided to wing it. As a result it probably took longer than it would have if I had made myself a color roadmap.
Like a normal person, I paint the background first. Because it just makes sense. Some people paint from the top right corner down to the bottom left, painting each area to completion as they go, but I prefer to work around the canvas a bit more. I don’t always know in advance which areas should have the most detail, so I leave the really detailed parts until later.

In this picture you can see that I’ve started blocking in some areas with base colors. Other areas… well, I guess I get kinda excited about those areas and start doing some level of rendering. Painting the base layers is important but not always exciting, so working on some detail areas keeps the romance alive.
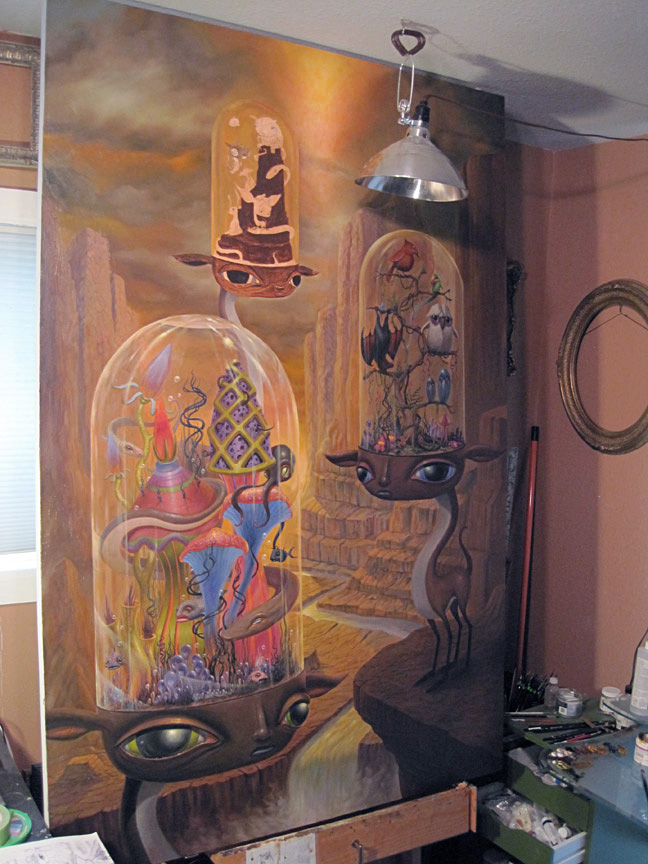
Things are pretty far along in this photo, but there are still a lot of color adjustments that need to happen. You can see that I’ve adjusted the lighting in the background, especially near the top of the painting. I push and pull the value and color back and forth until the very end. In most cases, I put the painting in the frame before it’s finished so I can make sure the color and value of the frame works well with the painting. I sometimes need to make some late-stage changes to the painting to make sure it’s all, you know, harmonious.
Eventually you just have to stop painting.
Thanks to Scott for taking the time to share with us and our readers!
Discuss Scott Musgrove here.